DIY Cargo/Sleeping platform

Disclaimer: Links on this page pointing to Amazon, eBay and other sites may include affiliate code. If you click them and make a purchase, we may earn a small commission.

steevo

Active Member
Joined
Feb 19, 2023
Posts
40
Reaction score
36
Location
Springfield, VA
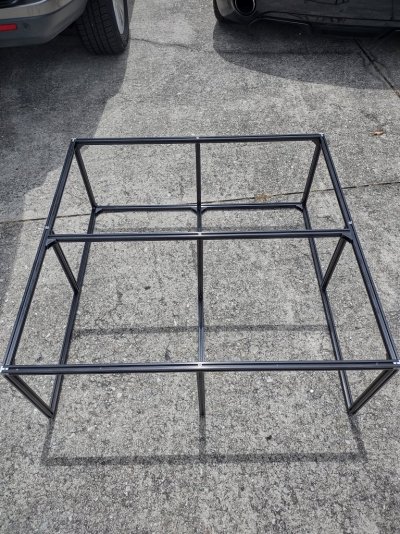
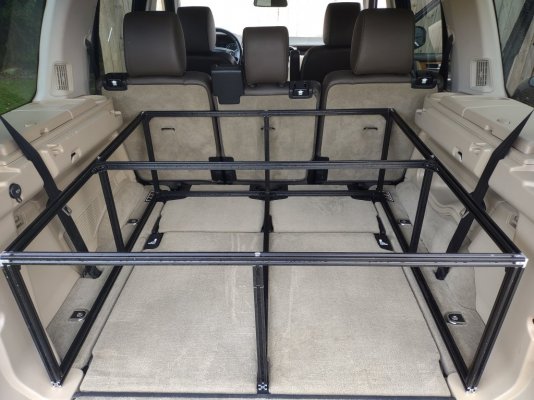
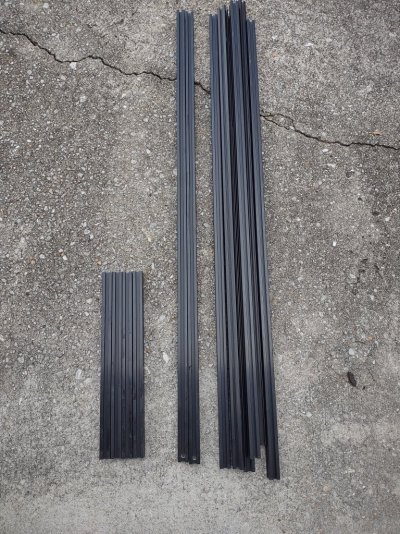
I had a cargo/sleeping platform in my LR3 that I thought was useful, so I decided to replicate it on my LR4. This time, I decided to use 20mmx20mm aluminum T-Slot extrusion instead of 1" AL square tubing. You can find it many places online, I got it from Amazon. I bought it in 1000mm lengths since that length will minimize the cuts you have to make. In that length, they were about $6.50 ea. This stuff is easy to work with, it cuts, drills, and taps very easily.
IMG_20230729_144138401_HDR.jpgIMG_20230729_152446430_HDR.jpg

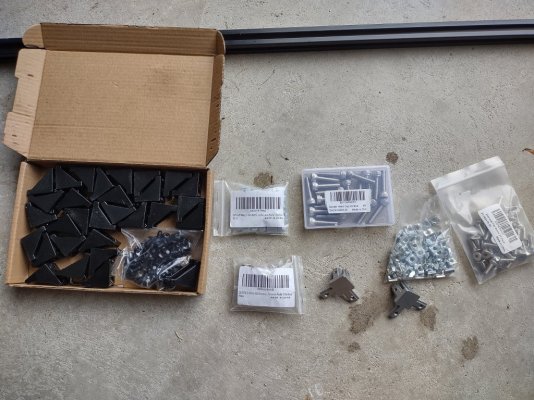
You'll also need the following:
- (12) 2020 profile aluminum extrusion 1000mm long (~39.5)
- (16) M5-0.8x16mm Flat head cap screws (for 15/32" plywood. if you're using thicker, you'll need longer bolts)
- (16) 2020 M5 half round T-nuts
- (20) M6-1.0x25mm Socket head cap screws
- #6 drill bit
- 1/4" drill bit
- 13/32" drill bit or step drill bit
- M6 Tap
- 2020 series corner brackets
- 2020 3-way end corner brackets (optional)

The measurements depend on how high you want the platform. I was aiming to clear my fridge, which is ~14.5", so my vertical supports were 13.75". If you use the 3-way corner brackets, notice they add about 3/8" to the length, so plan accordingly:
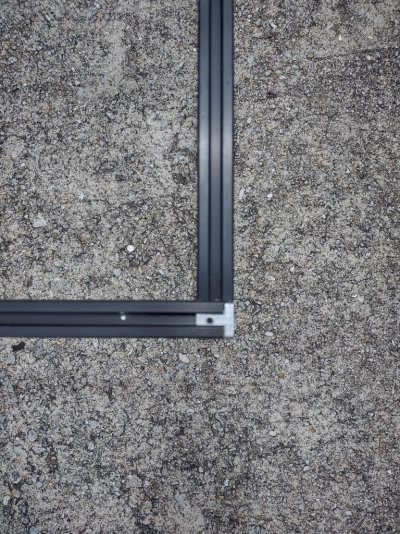
IMG_20230805_135111872_HDR.jpg

The rough measurements I used for the LR4 cargo area are 39"x38". The depth from the tailgate to the back of the seat will change depending on how high you make your platform since the rear seat angles backwards more the farther up you go.

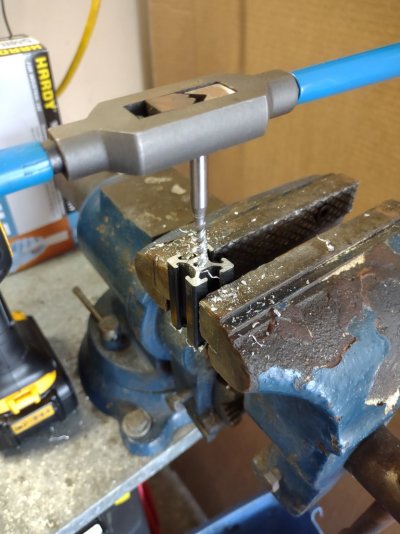
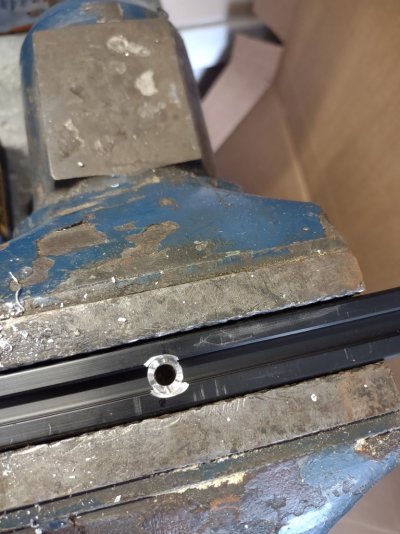
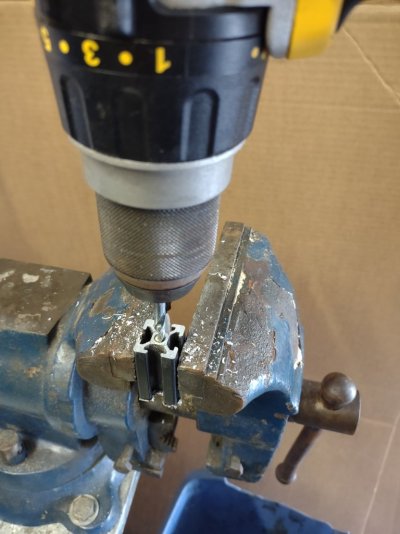
To attach the vertical supports, I cut them to length and drilled & tapped the center hole. The center hole is just a bit too big to tap to M5, so I drilled out the center hole with the #6 drill bit and tapped to M6:
IMG_20230805_142854815.jpgIMG_20230805_142943696.jpg
 
Last edited:

steevo

Active Member
Joined
Feb 19, 2023
Posts
40
Reaction score
36
Location
Springfield, VA
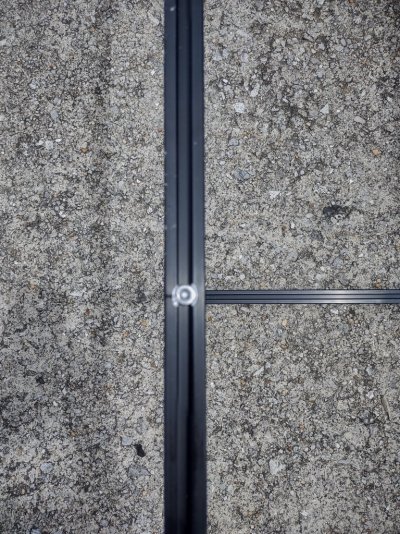
To mount them to the horizontal runners, drill a 1/4" hole and countersink it with a step drill bit or a 13/32" drill bit:
IMG_20230805_143135380.jpgIMG_20230805_135141573_HDR.jpg

Once you have measured about 3 times, cut your pieces and assemble using the M6 hardware, end corner brackets, and 90 degree brackets:
IMG_20230805_135128230_HDR.jpg

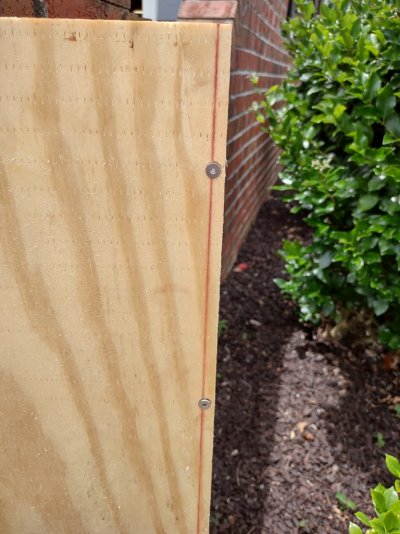
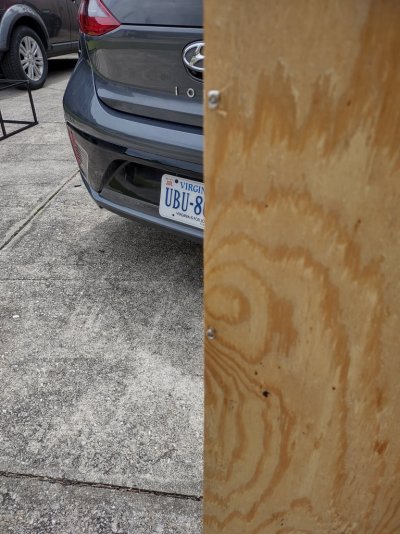
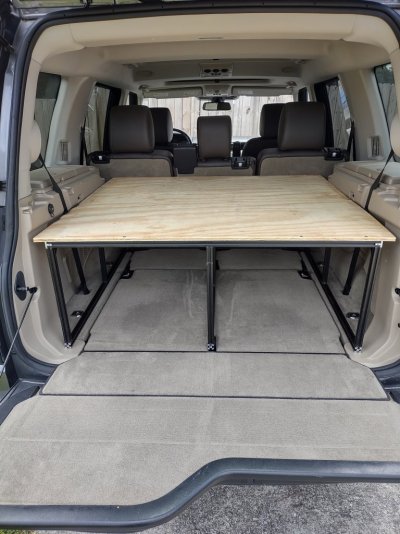
Cut your plywood to shape, snap a chalk line to mark where to drill your mounting holes, and drill holes for the M5 half-round T-nuts. The beauty of the half-round T-nuts is that you can assemble the screw and nut, then insert it into the channel and the nut will "wedge" itself in so you can tighten it. This makes installing and removing the wood easy and you don't need to drill any holes in the aluminum to secure the wood:
IMG_20230805_135251092_HDR.jpgIMG_20230805_135306521_HDR.jpg
 

steevo

Active Member
Joined
Feb 19, 2023
Posts
40
Reaction score
36
Location
Springfield, VA
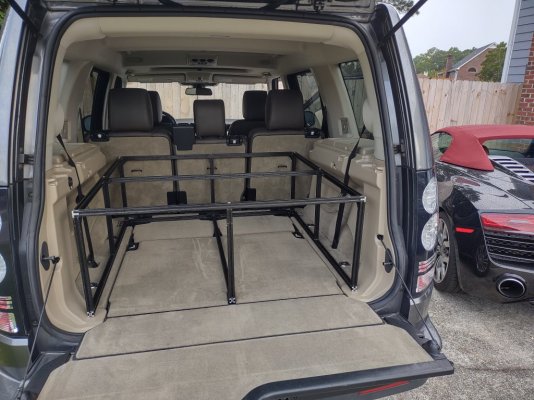
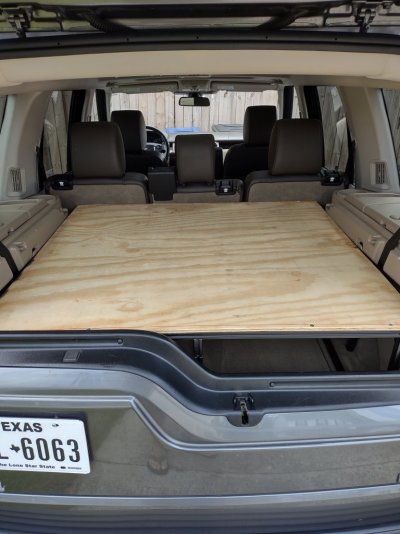
Here's what it looks like installed:
IMG_20230730_175255879_HDR.jpgIMG_20230730_175302361.jpg
IMG_20230805_140153521_HDR.jpgIMG_20230805_140211539_HDR.jpg

The whole setup is very light. Even with the plywood, I can easily take it in and out by myself. without the wood attached, you can carry it around with one hand. Last step is to get some eye bolts and turnbuckles to secure it to the D-rings on the floor of the LR4.

Next up is to create a "bolt-on" extension that I can add when the back seats are folded flat to make it a true sleeping platform. It'll probably be a few weeks before I get to that project though.
 
Last edited:

ftillier

Supporting Member
Supporting Member
Joined
Jul 27, 2021
Posts
593
Reaction score
293
Location
Portland, OR, USA
I plan on something similar, except I will remove the 2nd row seats and try to get as much off my storage done up front and down low. I like being able to sit up in bed. I like you aluminum extrusion setup though, nice work!
 

powershift

Full Access Member
Joined
Jul 20, 2023
Posts
452
Reaction score
140
Location
Nevada
Looking good. Crafty. How much length do have there with the hatch closed?
 

powershift

Full Access Member
Joined
Jul 20, 2023
Posts
452
Reaction score
140
Location
Nevada
Is it a sleeping platform for kids? I was thinking about one for an adult but I might need to be at an angle with the rear seats down to get 75".
 

steevo

Active Member
Joined
Feb 19, 2023
Posts
40
Reaction score
36
Location
Springfield, VA
Is it a sleeping platform for kids? I was thinking about one for an adult but I might need to be at an angle with the rear seats down to get 75".
That is just the platform for the cargo area, I'm making an add-on for when the back seats are down. with both pieces, it gets you ~72" from the hatch to the back of the first row seats (depending on how far back you drive). If you moved the first row of seats all the way forward you *might* get 75".
 

mm3846

Full Access Member
Joined
Feb 11, 2021
Posts
371
Reaction score
181
Location
LI, NY
Looks good. I just finished a drawer and fridge slide and used all plywood since I had enough laying around I didn’t need to buy anything but I think version 2 is going to be 8020.
 

ryanjl

Full Access Member
Joined
Dec 31, 2015
Posts
3,032
Reaction score
1,803
Location
KCMO
I keep kicking around ideas for a rear storage system, but it would make it a whole lot easier to envision/build if I got a rear tire carrier and did not have to worry about accessing the spare tire winch. This at least looks light enough that you could remove it if you need to access the spare winch, correct?
 

Latest posts

Members online

Forum statistics

Threads
36,260
Posts
218,017
Members
30,496
Latest member
washburn72
Top