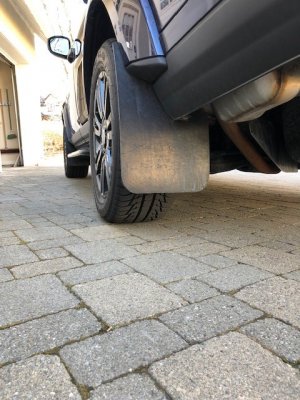
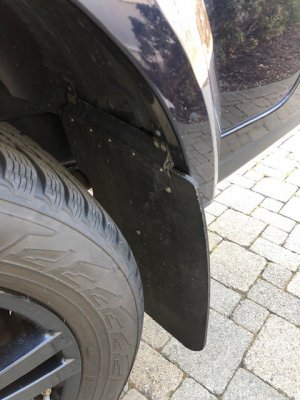
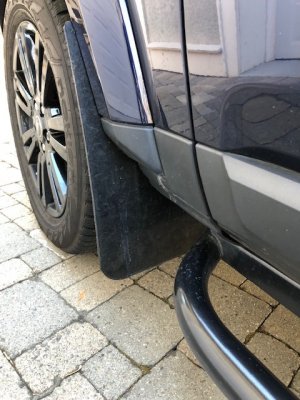
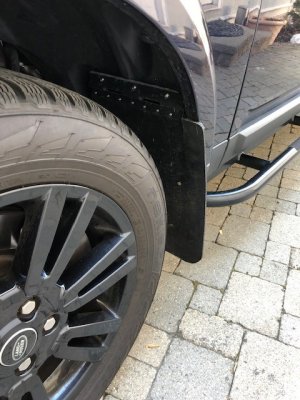
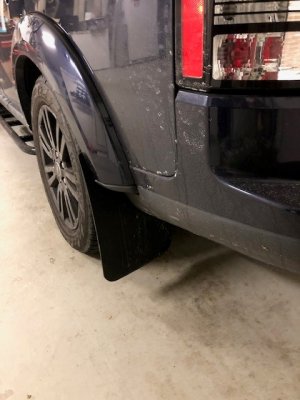
Dusting this thread off because I finally figured out how to get the mud flaps I wanted for greater coverage over the semi-rigid factory splash guards and (equally important) make them quickly removable for any off-road activities. In the end all the parts were not very expensive, but it took some time and a bit of fabricating to get the brackets functioning as intended. If anyone is
really interested I will be happy to put a parts list together and highlight the steps taken. Be warned however that it will involve some riveting and cutting/machining of aluminum plate. Also, it turns out the left front and right front wheel wells are not symmetrical so in terms of measuring and templating, I needed to start from scratch.
Here is the quick overview: I ordered some generic 12" x 18" reinforced rubber mudflaps (I think less than $40 per pair) and then trimmed them to the desired size and shape. I put a half-circle cutout in the inner-rear sides for exhaust clearance and put a radius on the corners as well. I then bought plastic sail track (it's basically tongue and groove with a tab on each end...typically used for canvas and awnings). The female section is mounted in the wheel well and the male section, which is flexible, is mounted to the mud flap. Once these pieces were mounted it's really easy to slide the mudflap into place. Again, the fronts proved difficult because of the asymmetry and clearances needed (there's not much) when the wheel turns, so this took a bit of work. I then installed two quarter-turn fasteners to hold the mud flaps in place. Lining up everything proved a challenge and this is where it was necessary to get a little more involved than I wanted to with the fronts.
I would say it's not terrible if you want to do the rears and the fronts are where the bulk of the work and fitting is going to be...but I still think it was worth it. I only wish it was easier for me to share the "recipe".
