
Land Rover Joe
Full Access Member
Tribe,
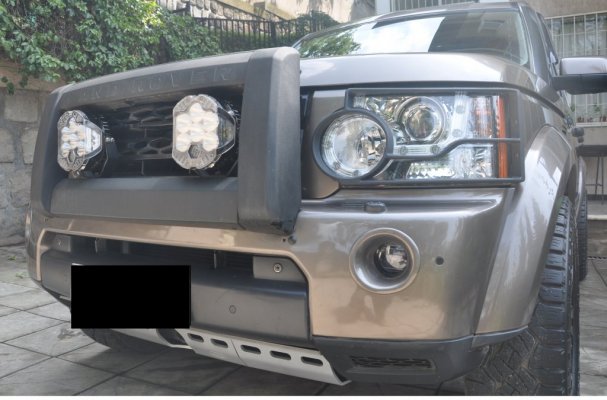
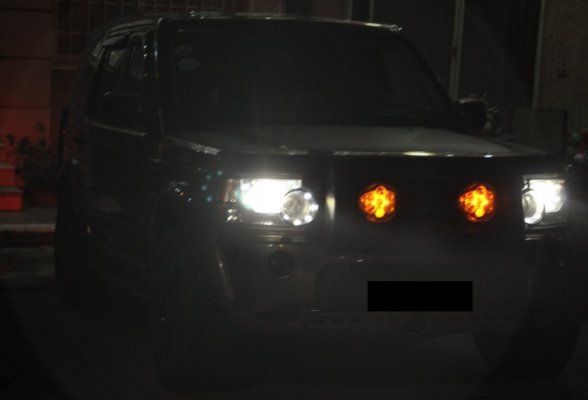
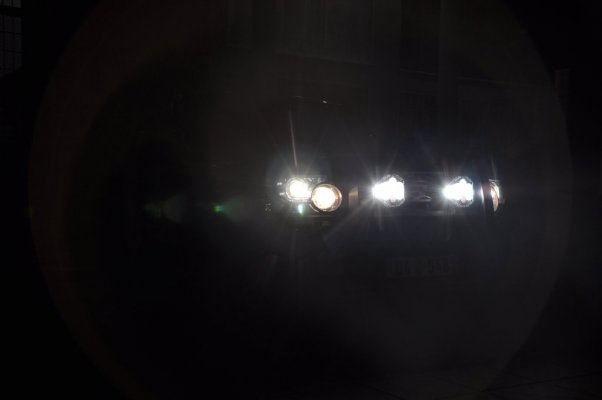
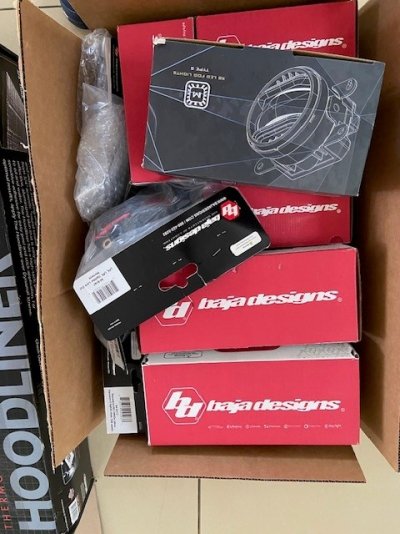
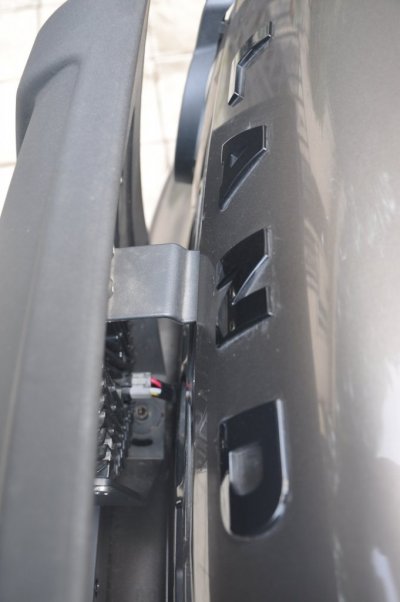
Since there isn't anyone who has posted on the Forum about this, I thought I would would share my experience and thoughts about the Baja Designs [BD] LP6 Pro Auxiliary Light Pods (Universal) installation and performance.
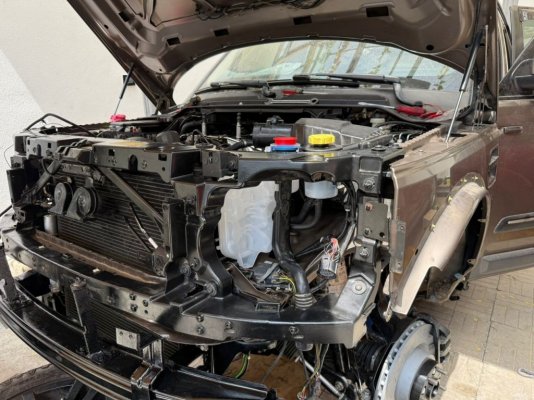
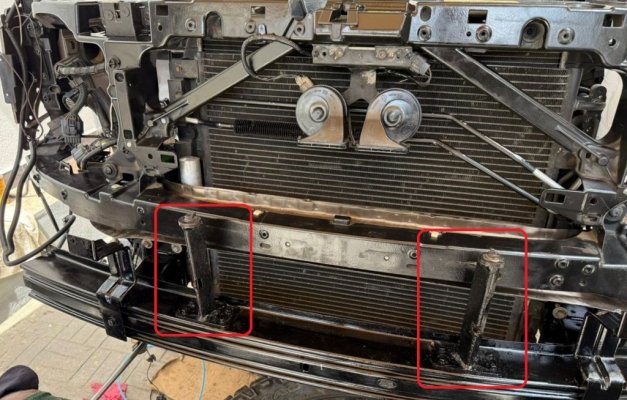
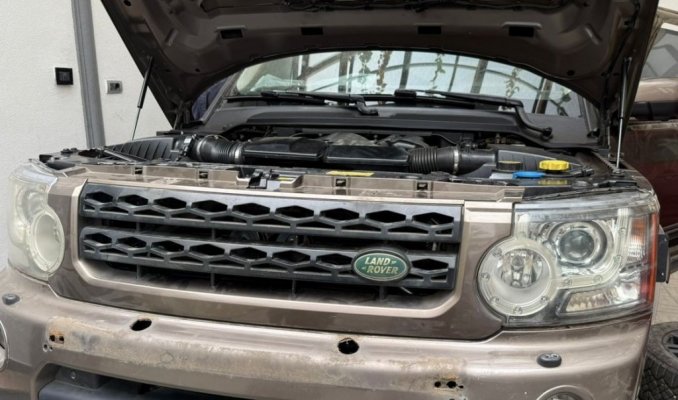
Bottom Line Up Front: Attached here are a couple photos about the finished product and end result - not without its own drama.
I think they look great and are super powerful, lighting up the night for sure (certainly much better than the OEM Hella Aux light's which they replaced in my case).
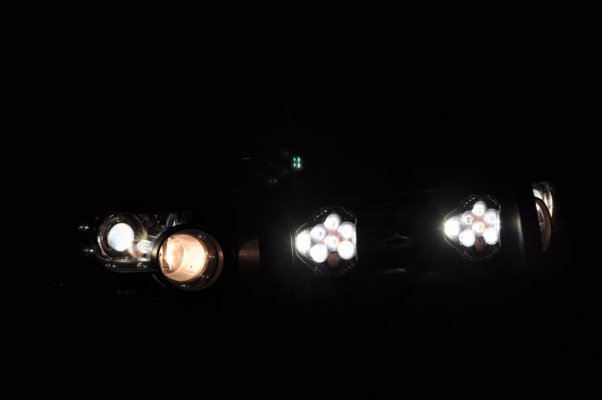
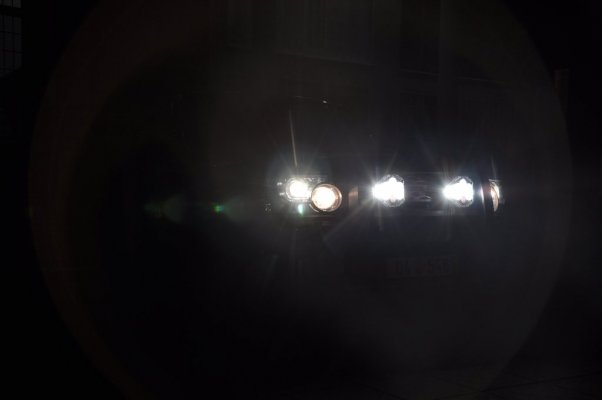
The first photo is a daytime close-up (all lights off), the second is a nighttime close-up of the headlights on with DRL's (BD calls this mode "Backlit"), and the last photo is a nighttime of the headlights and brights on with the LP6 fully illuminated.
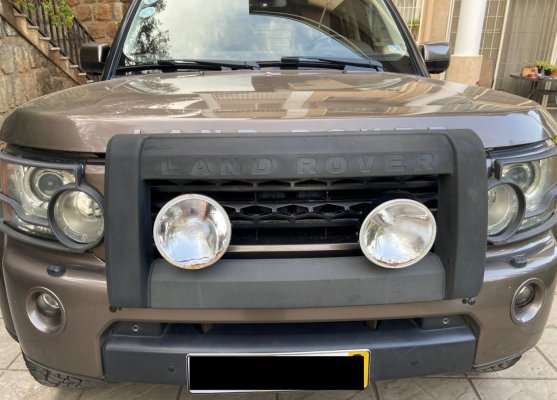
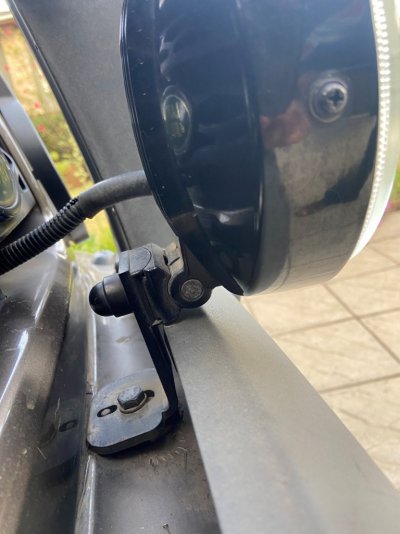
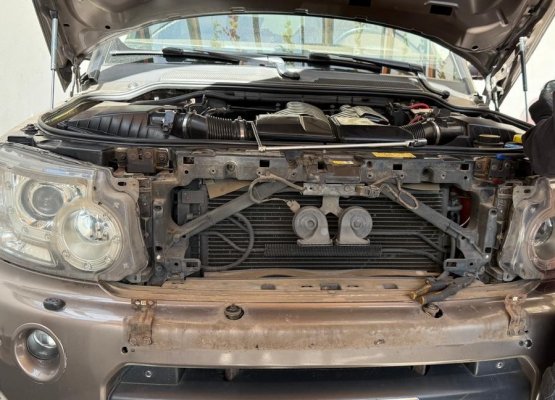
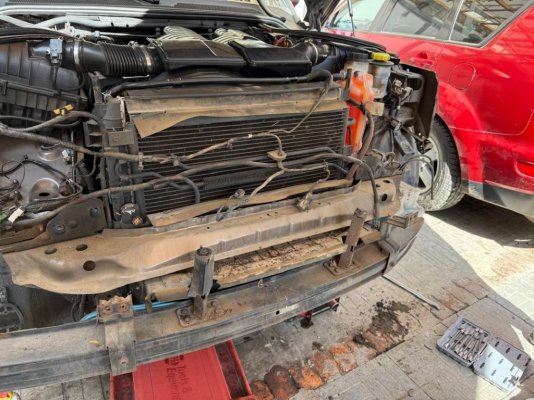
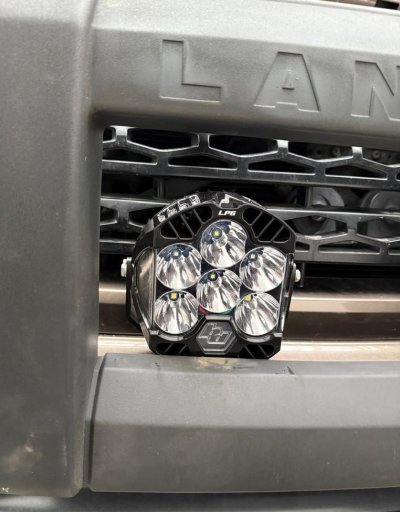
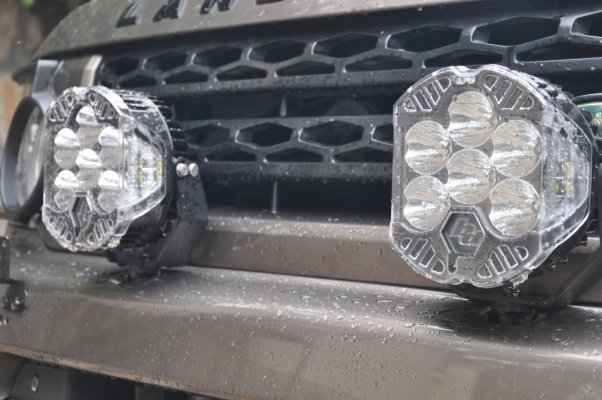
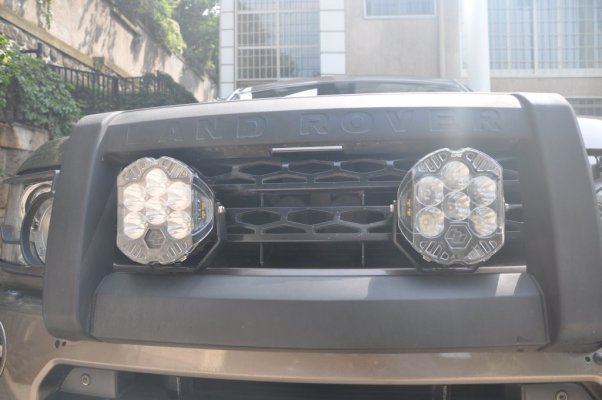
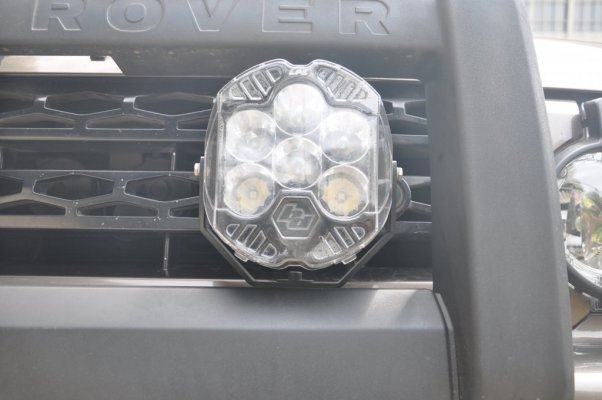
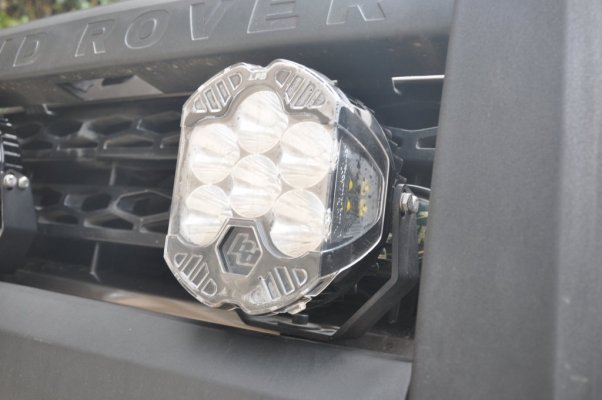
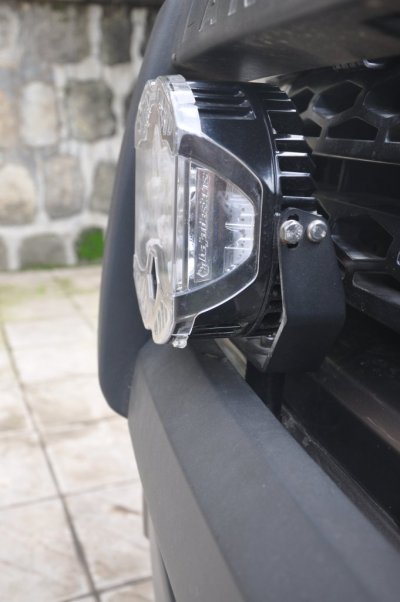
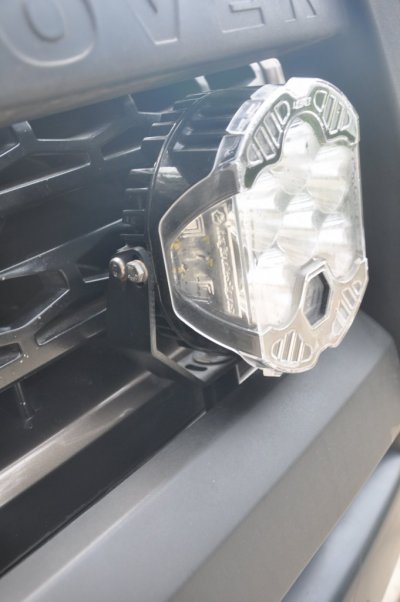
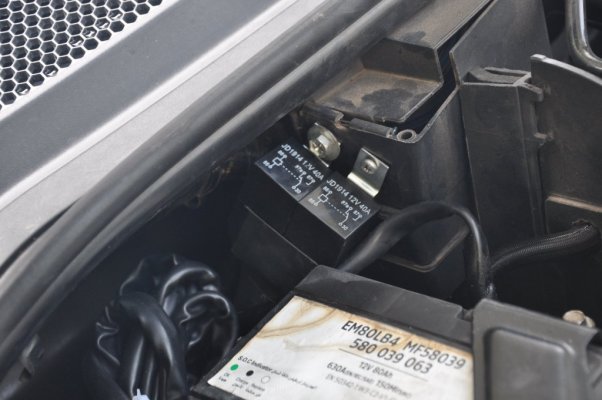
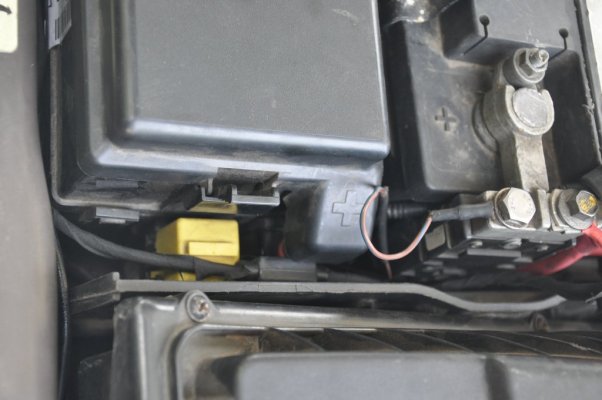
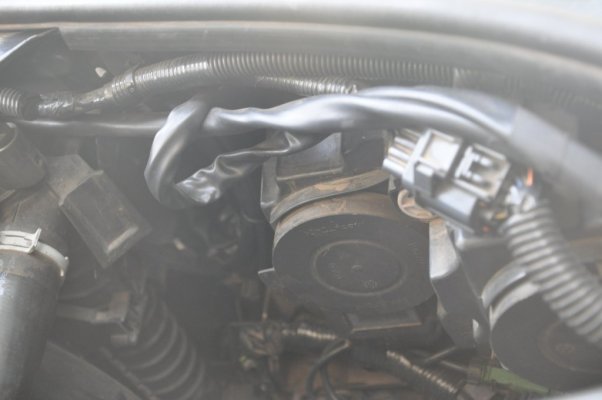
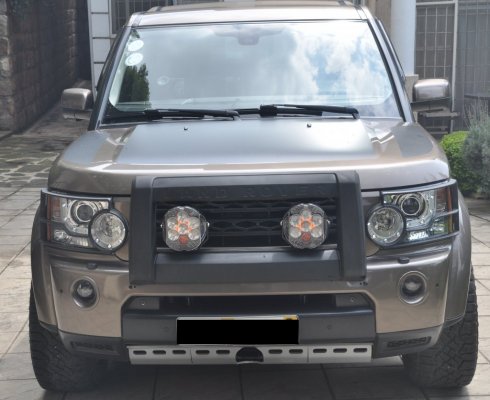
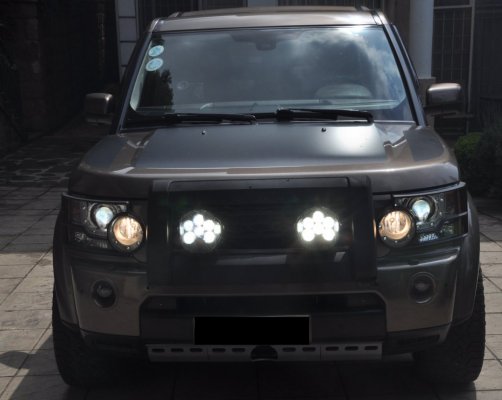
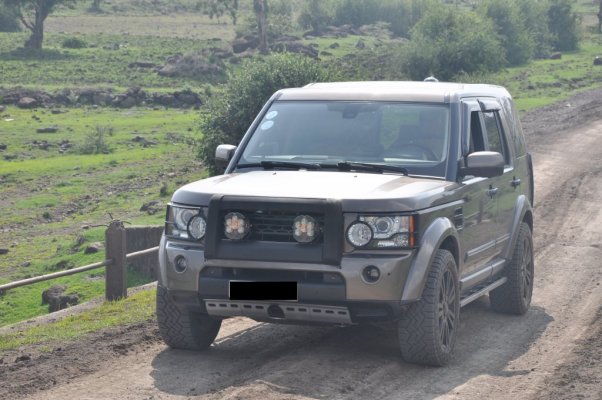
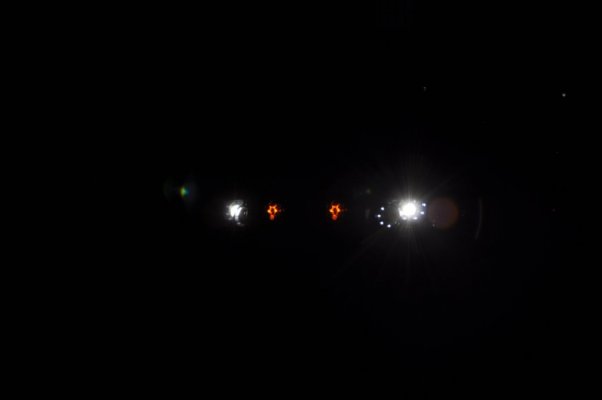
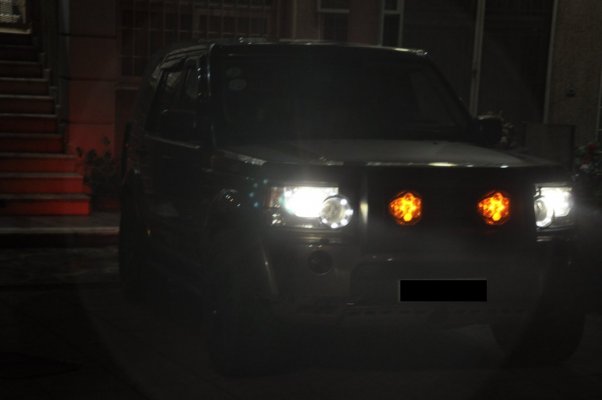
Since there isn't anyone who has posted on the Forum about this, I thought I would would share my experience and thoughts about the Baja Designs [BD] LP6 Pro Auxiliary Light Pods (Universal) installation and performance.
Bottom Line Up Front: Attached here are a couple photos about the finished product and end result - not without its own drama.
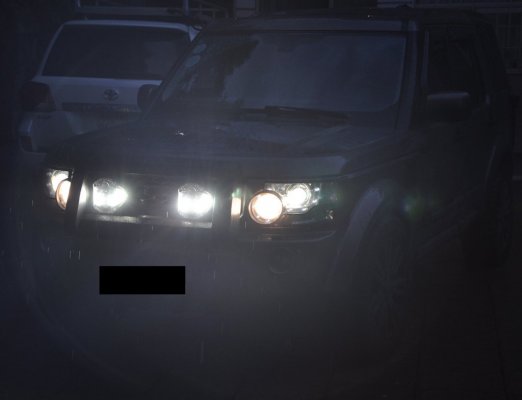
I think they look great and are super powerful, lighting up the night for sure (certainly much better than the OEM Hella Aux light's which they replaced in my case).
The first photo is a daytime close-up (all lights off), the second is a nighttime close-up of the headlights on with DRL's (BD calls this mode "Backlit"), and the last photo is a nighttime of the headlights and brights on with the LP6 fully illuminated.