Roof rail installation trouble

Disclaimer: Links on this page pointing to Amazon, eBay and other sites may include affiliate code. If you click them and make a purchase, we may earn a small commission.

taxi

Member
Joined
Jul 15, 2021
Posts
8
Reaction score
6
Location
St Pete, FL
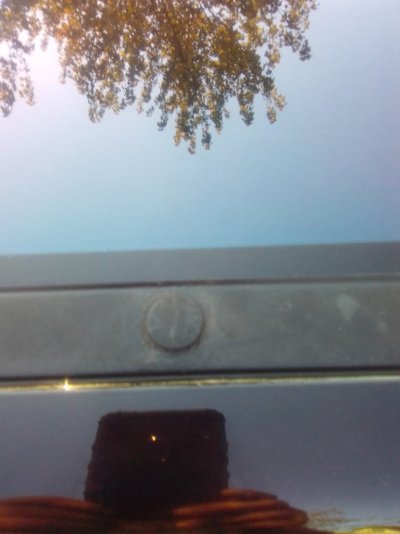
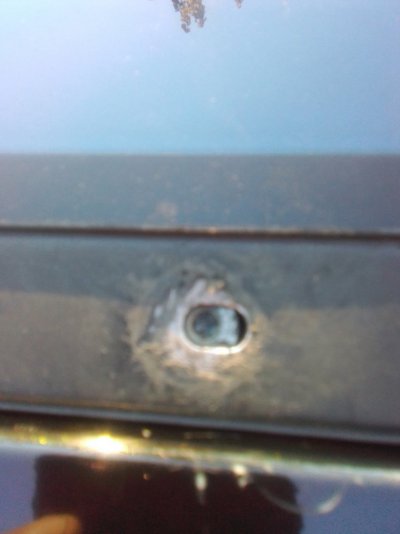
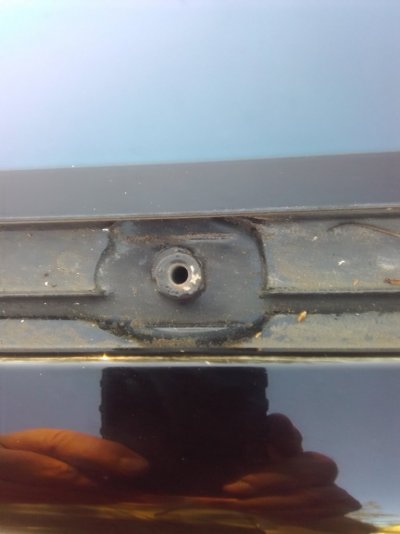
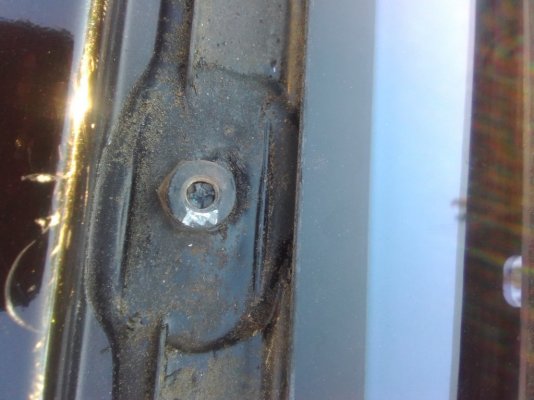
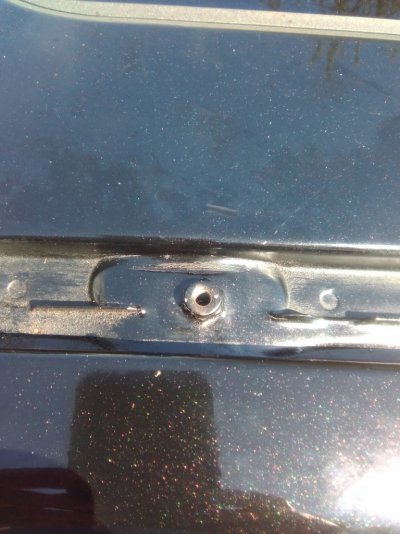
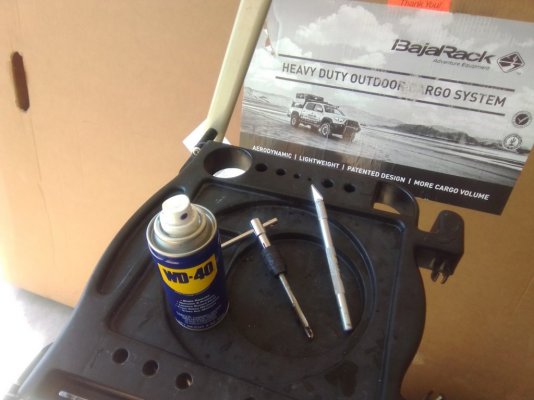
4 plastic inserts broke off and I've already spent about 1.5 hours on clearing out the first one. Has anyone come up with a decent method of getting them out? I've drilled, screw extractor, drove a screw into it etc.
 

elmo366036

New Member
Joined
Mar 16, 2022
Posts
3
Reaction score
3
Location
USA
You could replace the rail studs and then reseal them.

When I installed my rack, I sheared off 2 of those plastic inserts and spent a lot of time trying to get those plastic bits out. Andy from Voyager Racks suggested replacing the rail studs rather than trying to clean them out (thanks for the help!!).

You have to cut through the sealant around the studs and then they can be removed. I used an exacto knife to do it. I then used clear RTV to seal in the replacement studs.

Here is a link:

 
Last edited:

BigBriDogGuy

Full Access Member
Joined
Feb 28, 2023
Posts
355
Reaction score
210
Location
Bellingham, WA (USA)
I've got the same problem. my 2011 LR4 looks like it never had anything but the (aluminum?) rail trim. It's full-length and one solid piece on each side. The plastic button inserts were just old and the trim seems to have shifted forward to keep them from wanting to come out due to binding. Good to know I'm not alone. I bought a very small tap and was thinking about using that to pull the plugs out of the insert. I won't do anything until I know I'm not going to damage the insert.

Once I get the last plastic button plug out, it looks like I can lift out the entire trim piece and get better access to the inserts. I was thinking maybe a tiny little drill bit with a hole down the middle of the broken plastic stem and then a picture frame nail with a dab of super glue stuck into the middle. Let it dry and then pull the remainder of the black plastic stem out by the nail with a pair of pliers. Won't even try it unless I feel it's safe. Will let you know how it goes. Maybe take some pics to share.

Attached are pics of a good insert and a clogged one, both with and without the trim piece covering.
 

Attachments

  • IMG_20230606_193508.jpg
    IMG_20230606_193508.jpg
    84.9 KB · Views: 32
  • IMG_20230606_193531.jpg
    IMG_20230606_193531.jpg
    77.7 KB · Views: 32
  • IMG_20230606_193641.jpg
    IMG_20230606_193641.jpg
    70.3 KB · Views: 32
  • IMG_20230606_193817.jpg
    IMG_20230606_193817.jpg
    65.5 KB · Views: 31
  • IMG_20230606_193845.jpg
    IMG_20230606_193845.jpg
    115.2 KB · Views: 31
Last edited:

BigBriDogGuy

Full Access Member
Joined
Feb 28, 2023
Posts
355
Reaction score
210
Location
Bellingham, WA (USA)
Got the genuine Land Rover short rails in tonight. Will be using them as the mounting base for a full-sized Baja Standard Rack. Not a lot of "wow" factor here, but they are roof rails. As long as they fit and work as intended what more can I really expect?
 

Attachments

  • LR Short Rails.jpg
    LR Short Rails.jpg
    112.9 KB · Views: 30

ugmw177

Well-Known Member
Joined
May 25, 2023
Posts
51
Reaction score
36
Location
Charlotte NC
Wow, i must have been really lucky here. I just did this on my sons 2011 LR4. I used a dremel and cut a slot on each of the plastic tree plugs' heads. then using a screwdriver and a trim remover unscrewed them a bit and lifted them with the trim tool. They all came out and the captive nuts were fine. The aftermarket rails were kind of cheesy as far a fit goes but went on ok. I then ordered some aftermarket cross bars. [the feet were actually too big to fit in the channels properly but with some dremel work fit ok]. Just could not justify the cost difference for the genuine LR items. Difference was less than $200 for the aftermarket total and just under $1000 for the genuine stuff.
 

BigBriDogGuy

Full Access Member
Joined
Feb 28, 2023
Posts
355
Reaction score
210
Location
Bellingham, WA (USA)
Whelp, I'm striking our at every turn. The material is too soft to hold an edge when I cut a slot into it. I can get a small flat head screw driver pretty deeply into it and it just rotates and bores out the hole. I am going to grab some WD-40 and see if that will loosen up the threads. Next move is to just try and cut out all the plastic with an X-Acto knife and try to get the pieces out. It may be tedious and take a long time, but I will not compromise the metal threads by going in there aggressively with a drill bit or metal tap.
 

BigBriDogGuy

Full Access Member
Joined
Feb 28, 2023
Posts
355
Reaction score
210
Location
Bellingham, WA (USA)
Okay, finally got one side on and figured out why it wasn't working out.


It's not easy or straightforward.

I'll try pulling the other side's ditch rail tomorrow. Tested a couple of the button cap plastic fasteners. None of them rotated easily, or at all. Doesn't look good, but I'll try some of the techniques mentioned here. I wouldn't be surprised if someone previously glued them in. I may need to ream them out, even re-tap the threads on a couple. Just for the record, this is truly ridiculous. What should be a 15-30 minute job on each side is turning into a enraging nightmare scenario.
 
Last edited:

BigBriDogGuy

Full Access Member
Joined
Feb 28, 2023
Posts
355
Reaction score
210
Location
Bellingham, WA (USA)
Got the short rails installed. Only 2 of the 8 button cap plastic fasteners came out clean. The rest popped right off and left the plastic stem inside the nutserts. Those needed to be reamed out, cleaned out, and then re-tapped. Bought an extraction tool and that did nothing. Tried twisting it counter-clockwise and it just pulled right out of the plastic. My new best friends are the ladder, WD-40, a thread tapper, and X-Acto knife. Got the short rails installed shortly after the Baja rack arrived. Got the Baja installed today with the help of my (tall) neighbors. I have to say, the end result looks sharp. Will snap off a few pics tomorrow. Burnt too much daylight today to get that done.
 

Attachments

  • IMG_20230608_160452.jpg
    IMG_20230608_160452.jpg
    144 KB · Views: 37
  • IMG_20230608_160457.jpg
    IMG_20230608_160457.jpg
    153.6 KB · Views: 35
  • IMG_20230608_160547.jpg
    IMG_20230608_160547.jpg
    98.7 KB · Views: 32

BigBriDogGuy

Full Access Member
Joined
Feb 28, 2023
Posts
355
Reaction score
210
Location
Bellingham, WA (USA)
Okay, so here are some pics that are the culmination of all that hard work. Looks sharp.
 

Attachments

  • IMG_20230609_082053.jpg
    IMG_20230609_082053.jpg
    170.4 KB · Views: 35
  • IMG_20230609_082135.jpg
    IMG_20230609_082135.jpg
    174.4 KB · Views: 35
  • IMG_20230609_085853.jpg
    IMG_20230609_085853.jpg
    144.1 KB · Views: 33
  • IMG_20230609_091324.jpg
    IMG_20230609_091324.jpg
    127 KB · Views: 34
  • IMG_20230609_091400.jpg
    IMG_20230609_091400.jpg
    162.2 KB · Views: 31

Latest posts

Members online

Forum statistics

Threads
36,222
Posts
217,570
Members
30,473
Latest member
OnoA
Top