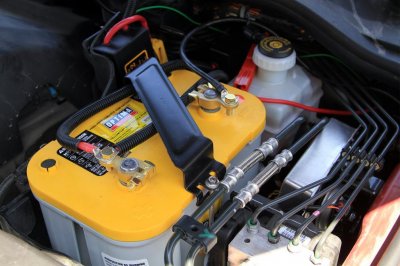
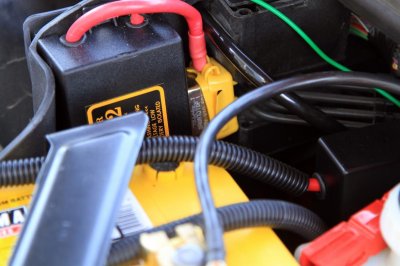
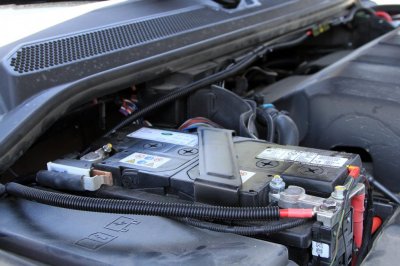
Installed. Unbelievable pain in the ass, but the kit is top quality throughout, and the instructions supplied by Traxide are terrific. Took me about 6-7 hours overall (including making room for the aux battery a couple of weeks ago, that was at least an hour or two on its own), and I didn't take too many breaks. Running the wire through the recessed plug in the firewall was the hardest part of the job, as I expected, but laying the cable run between engine bay and cargo area, and then the extension for the new auxiliary socket across to the other side of the cargo area, were no picnic, either. Unscrewing and screwing the nut on the grounding stud without dropping it in the dark recesses of the engine bay must have taken me a good 30 minutes at least, it's near impossible to reach that sucker under all the brake lines if you have hands larger than Cinderella. Hooking up batteries and cables at the very end was by far the easiest and most fun part of the project.
The result is totally worth the effort though, I now have two 12v sockets in the trunk (the factory one on the driver's side and a new one on the opposite side), plus both my cameras, hard wired into the Optima auxiliary battery and monitored by the new aux battery low voltage cutoff module, and everything is working like a charm.
Thanks Tim, you really manufacture a terrific product. I have a few notes and suggestions for your install manual (which may make the job a bit easier for LH drive vehicles installations, as some of the instructions don't jive with what I found), will send them over via email... After I get some sleep.