
gsxr
Full Access Member
Another update. I was able to finally drain the tank. I made one last attempt today (after spending 20-30 mins yesterday, unsuccessfully) to get the siphon hose into the tank. Today it worked! But, I was only able to siphon 6 gallons out (estimated 14 gallons remaining).
Next was pulling the filler pipe connection. More fuel leaked out than I expected, but the flap at the tank did not leak so it was "only" a few ounces (which is more than it sounds like). With the filler pipe removed, I was able to push the flap open with a screwdriver and drain a pint or two at a time into a bowl, which was then poured via funnel into a gas can. After repeating this a dozen or more times the flow was down to a trickle.
Next was sticking the siphon hose into the tank fill port and siphoning directly out of the tank. Total drained ended up around 17 gallons. I had estimated there was 19-20 in the tank, so draining all but 2-3 gallons was fantastic.
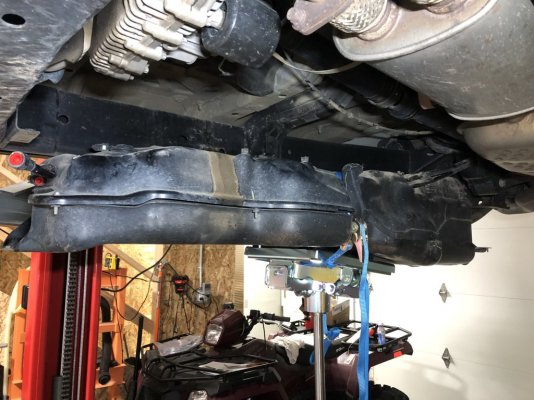
Now I'm having fun getting the tank disconnected and lowered out of the chassis. Those quick-connect pipe fittings are poorly named. More like torture-connect. When you can't easily get your hands/fingers on the fitting, it's a PITA to squeeze hard enough while also twisting/pulling. Finally got the front pipe connections separated.
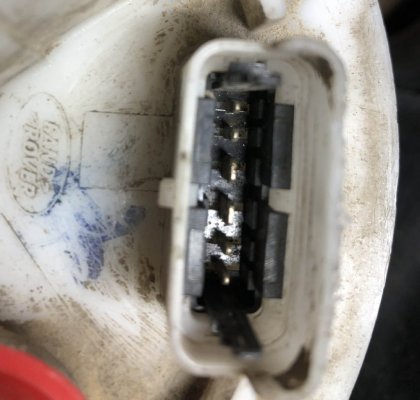
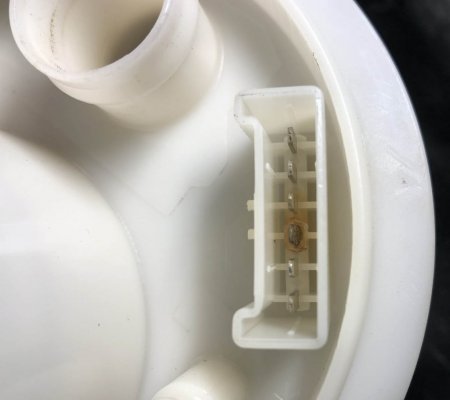
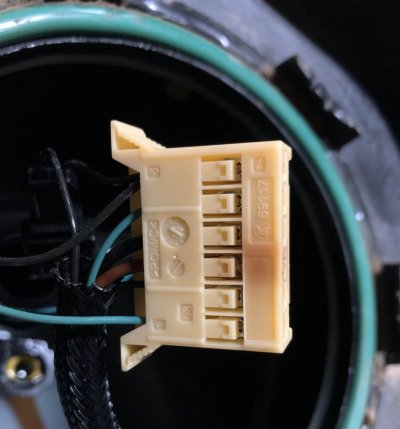
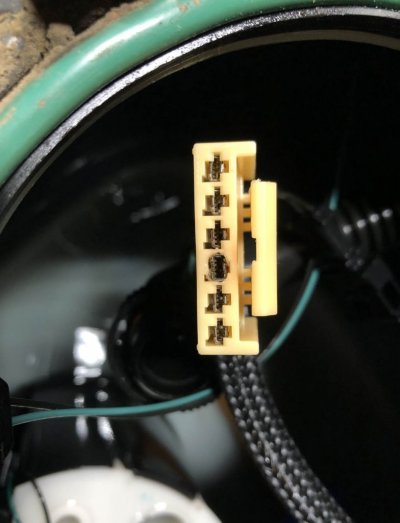
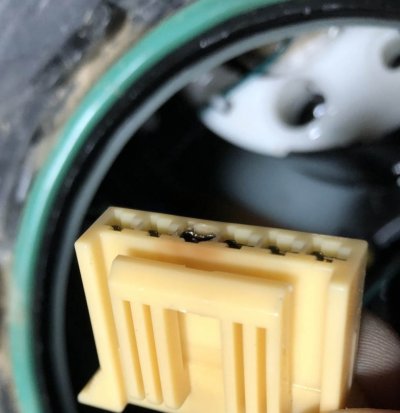
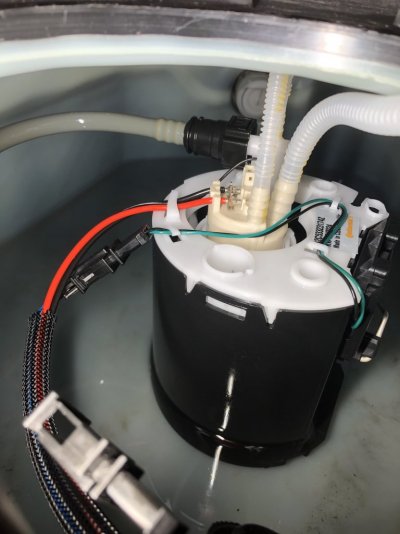
Removing the electrical connector at the flange was 10x harder than it should have been. I don't know what JLR was thinking, since you're supposed to separate this with the tank only lowered 250mm (~10 inches). After 30+ minutes of fighting and using a mirror to view the locking tab, it finally released. Just ridiculous. Fabulous engineering study of how NOT to design a connection in a limited-access area. *shakes cane*
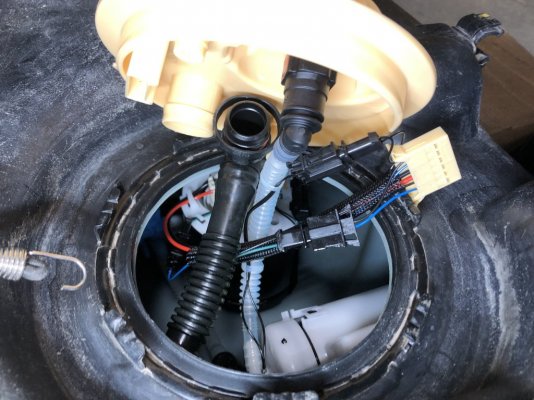
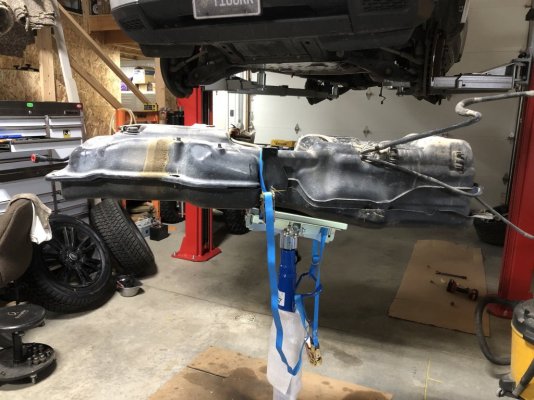
I'm now stuck at separating the vent piping at the rear. The large diameter pipe torture-connect fitting is fairly easy to access and I'm confident I could separate this. The small diameter pipe... appears to connect waaaay back, buried above/behind the differential. Another great example of terrible engineering. This was designed for manufacturing, not for maintenance / service / repair. I gave up for now, will try to figure out if I'll remove the small vent pipe above behind the differential, and snake the tube out... or disconnect it from the tank instead.
Really frustrating, all JLR had to do was design accessible fittings at the front+rear of the tank, but nope.. had to save those seventeen cents. A pox on those who designed this, and approved the design.

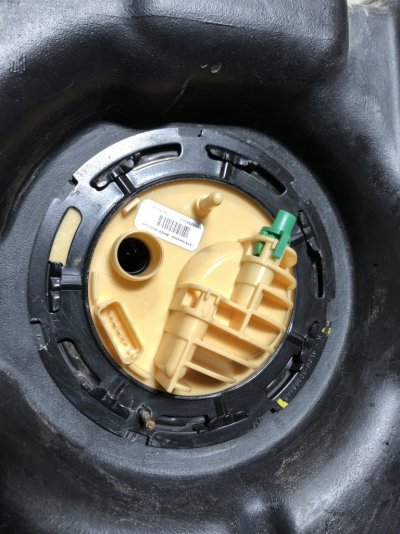
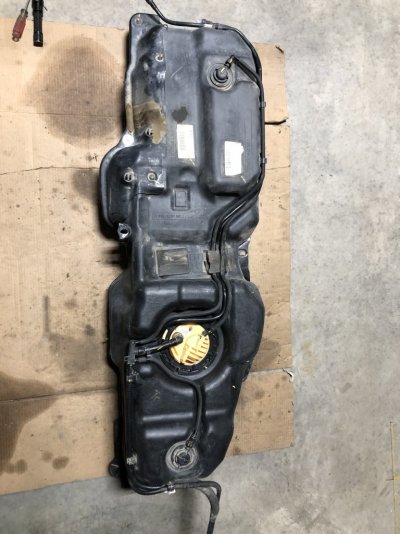
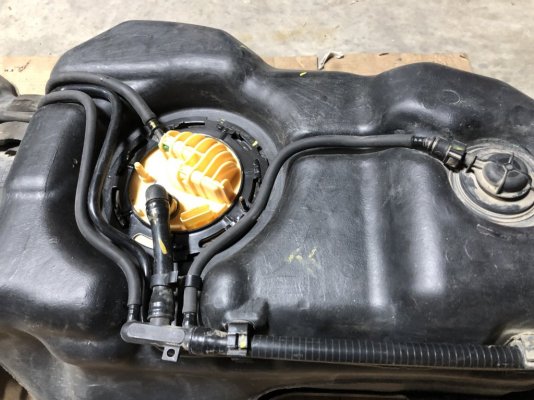
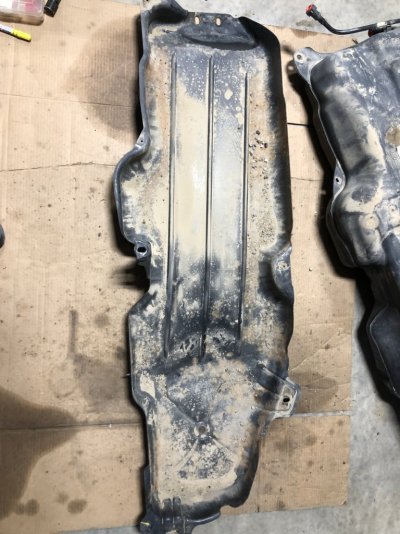
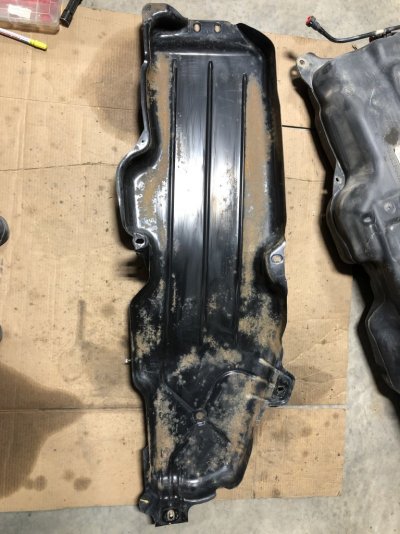
UPDATE: Tank has been successfully removed. Those stupid fittings are just the worst. Clearly, these are connected on the production line with a bare frame, before the body is lowered onto the frame. With the body removed, there's plenty of access. With the body in place, there's very poor access. The FSM is just plain awful with no text descriptions, and not-very-helpful colored drawings. I'll post more info & photos on the only tank removal thread I could find on the forum (here).
Next was pulling the filler pipe connection. More fuel leaked out than I expected, but the flap at the tank did not leak so it was "only" a few ounces (which is more than it sounds like). With the filler pipe removed, I was able to push the flap open with a screwdriver and drain a pint or two at a time into a bowl, which was then poured via funnel into a gas can. After repeating this a dozen or more times the flow was down to a trickle.
Next was sticking the siphon hose into the tank fill port and siphoning directly out of the tank. Total drained ended up around 17 gallons. I had estimated there was 19-20 in the tank, so draining all but 2-3 gallons was fantastic.
Now I'm having fun getting the tank disconnected and lowered out of the chassis. Those quick-connect pipe fittings are poorly named. More like torture-connect. When you can't easily get your hands/fingers on the fitting, it's a PITA to squeeze hard enough while also twisting/pulling. Finally got the front pipe connections separated.
Removing the electrical connector at the flange was 10x harder than it should have been. I don't know what JLR was thinking, since you're supposed to separate this with the tank only lowered 250mm (~10 inches). After 30+ minutes of fighting and using a mirror to view the locking tab, it finally released. Just ridiculous. Fabulous engineering study of how NOT to design a connection in a limited-access area. *shakes cane*
I'm now stuck at separating the vent piping at the rear. The large diameter pipe torture-connect fitting is fairly easy to access and I'm confident I could separate this. The small diameter pipe... appears to connect waaaay back, buried above/behind the differential. Another great example of terrible engineering. This was designed for manufacturing, not for maintenance / service / repair. I gave up for now, will try to figure out if I'll remove the small vent pipe above behind the differential, and snake the tube out... or disconnect it from the tank instead.
Really frustrating, all JLR had to do was design accessible fittings at the front+rear of the tank, but nope.. had to save those seventeen cents. A pox on those who designed this, and approved the design.
UPDATE: Tank has been successfully removed. Those stupid fittings are just the worst. Clearly, these are connected on the production line with a bare frame, before the body is lowered onto the frame. With the body removed, there's plenty of access. With the body in place, there's very poor access. The FSM is just plain awful with no text descriptions, and not-very-helpful colored drawings. I'll post more info & photos on the only tank removal thread I could find on the forum (here).
Last edited: