
I have seen some talk about these on the forum, so I thought I'd do a write-up while installing them..
Items needed:
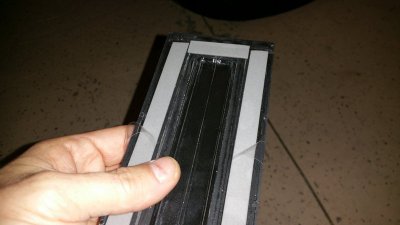
1 set of moldings
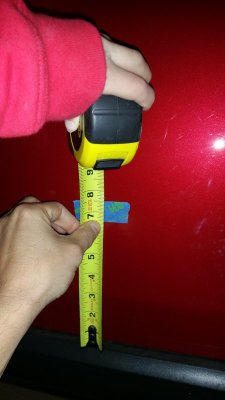
Tape measure
Tape (preferably painters, but not a big deal)
Rubbing alcohol
Beverages
1 hour of uninterrupted time
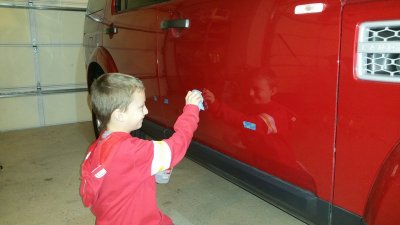
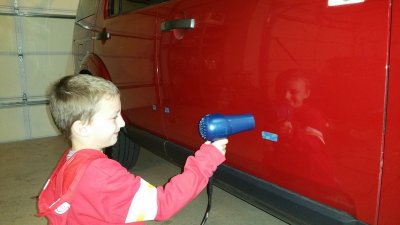
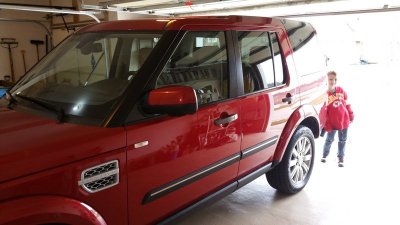
This is a perfect job for you and a son/ daughter, as an assistant is very helpful. Use your spouse at your own risk.
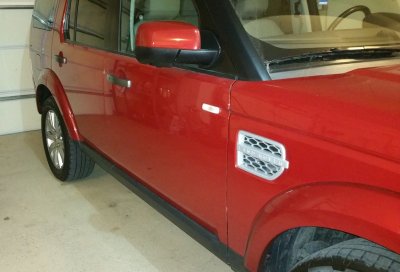
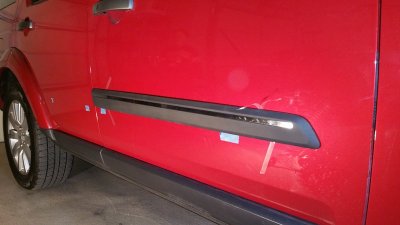
Step 1. Determine and set the height
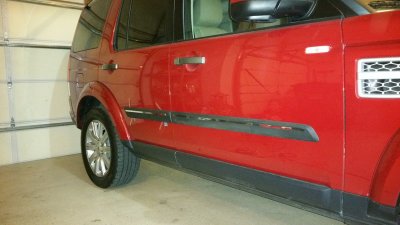
I chose 7.5 inches above the plastic door molding.. Pretty much stock, maybe a little higher. This lands precisely where the wife's Prius door could make contact in the garage.
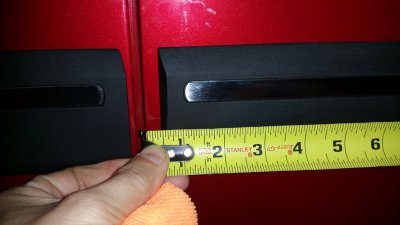
Measure and place tape in 2 places on each door, one approximately where the front of the molding piece will lie and one where the back will be. This will serve as a guide for straightness, as we will be placing the molding directly above the tape.
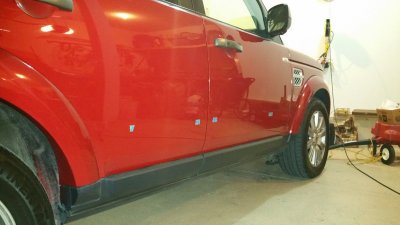
One side of the car will then have 4 pieces of tape. These may not look straight (see picture), this is due to the lines of the truck making things look skewed. Remeasure to make sure they are all straight (in my case, 7.5 inches off the plastic..
On to Step 2.
Items needed:
1 set of moldings
Tape measure
Tape (preferably painters, but not a big deal)
Rubbing alcohol
Beverages
1 hour of uninterrupted time
This is a perfect job for you and a son/ daughter, as an assistant is very helpful. Use your spouse at your own risk.
Step 1. Determine and set the height
I chose 7.5 inches above the plastic door molding.. Pretty much stock, maybe a little higher. This lands precisely where the wife's Prius door could make contact in the garage.
Measure and place tape in 2 places on each door, one approximately where the front of the molding piece will lie and one where the back will be. This will serve as a guide for straightness, as we will be placing the molding directly above the tape.
One side of the car will then have 4 pieces of tape. These may not look straight (see picture), this is due to the lines of the truck making things look skewed. Remeasure to make sure they are all straight (in my case, 7.5 inches off the plastic..
On to Step 2.